Setting up a modern terminal workflow can be daunting, but at the same time quite rewarding and helpful once you get the hang of it. In this post, I’ll share the steps I usually follow to set up a new terminal, and the settings and plugins I use which feels useful and manageable to me. The commands will be for Ubuntu as that’s the one I use, but should be easily reproducible in other distros as well. Let’s dive in!
Installing zsh
The first step to a good terminal experience is to ditch bash and install zsh (or fish if that’s your choice). Zsh is available for installing on most of the linux distros and is the default shell for recent macOS versions. To install and set as default –
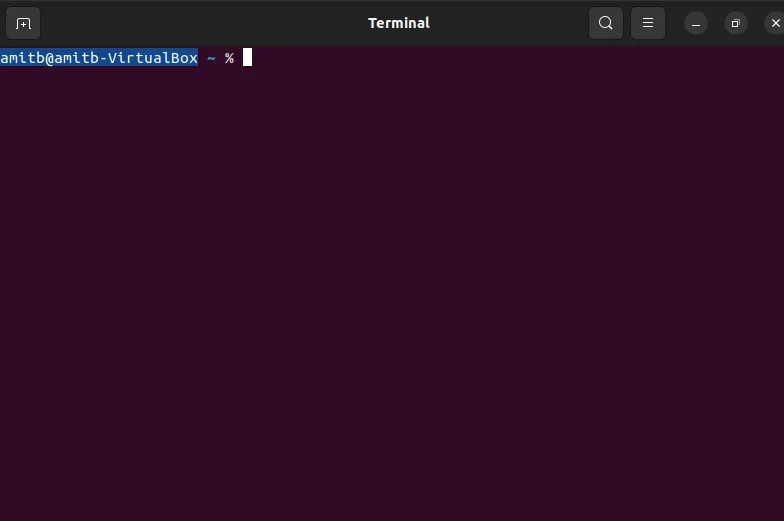
sudo apt install zsh && chsh -s $(which zsh)You can check the current shell with echo $0. For in-depth instructions to install zsh, refer to the link here. After the installation and setup are done, log out and log back in to apply the new shell changes. During initialization, a prompt will ask if we want to create a .zshrc file for the config. Enter 2 to populate the it automatically. The shell will look like this,
Installing Oh My Zsh
Oh My Zsh is an open-source framework for managing your zsh configuration. Make sure you have git, curl, and of course, zsh properly installed beforehand, and then run this command,
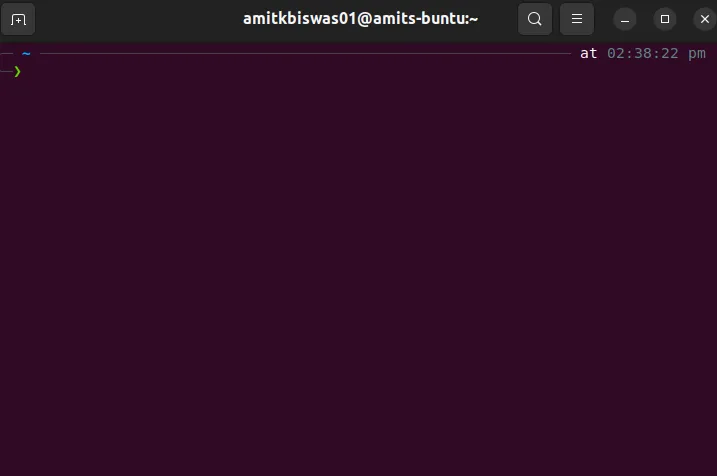
sh -c "$(curl -fsSL https://raw.githubusercontent.com/ohmyzsh/ohmyzsh/master/tools/install.sh)"As we can see in the following screenshot, the shell already changed after installing omz.
Installing Plugin
zsh has hundreds of useful plugins, serving various user needs. I use only three, and they’ve proven to be quite handy in my experience.
-
gitis installed by default and has tons of shortcuts for daily git actions. Plugin details can be found in the source file. -
zsh-autosuggestionsis the OG! It suggests commands as you type based on history and completions. Sounds simple, but the experience of using this plugin is so good! It can be installed from their official repository using oh-my-zsh. -
zsh-syntax-highlightingis the cherry-on-top forzsh-autosuggestions. It enables the highlighting of commands whilst they are typed at a zsh prompt into an interactive terminal. It can be installed from their official repository using oh-my-zsh.
Installing a shell prompt
A good shell prompt is not only essential for an aesthetic look but also for usability purposes. Apps like Starship do this quite nicely, but I use Powerlevel10k because it has a great configuration wizard, supports many utilities out of the box, arguably much faster than its competitors, and lastly, easy to install. Installation instructions along with the recommended font support can be found on their official repository. My personal config is a bit minimal and doesn’t use many fancy icons and features.
Installing Alacritty
Most Unix-based distros come with their flavor of the terminal emulator app, i.e. Terminal in macOS, gnome-terminal in Ubuntu, Terminator in Manjaro, and so on. I’ve been using Alacritty for a while now, it’s a blazingly fast terminal emulator app written in Rust with tons of customization options. Let’s set it up.
-
Install Alacritty for your OS of choice from their gitHub repository.
-
Prerequisites - Installing Rust (using rustup.rs), os-specific dependencies.
-
Create a folder named
alacrittyin the$HOME/.configdirectory. -
Create an
alacritty.ymlconfig file inside the alacritty folder with the following content. The location should be$HOME/.config/alacritty/alacritty.yml. Following is a minimal version, the full list of configs can be found in their repository.
# makes config change effects instant
live_config_reload: true
# styles for the window
window:
  dimensions:
    columns: 120
    lines: 36
  opacity: 0.98
  padding:
    x: 12
    y: 10
  dynamic_padding: false
  decoration: none
  decorations_theme_variant: Dark
# font setup for the terminal
# use Nerd font for better unicode support.
# https://www.nerdfonts.com/font-downloads
font:
  normal:
    family: "MesloLGS NF"
    style: Regular
  size: 12
# cursor styles
cursor:
  style:
    shape: Beam
    blinking: On
# some utilites
save_to_clipboard: true
draw_bold_text_with_bright_colors: true- Install a theme of your choice following the instructions in the alacritty-theme repo. The one in the screenshot below is the
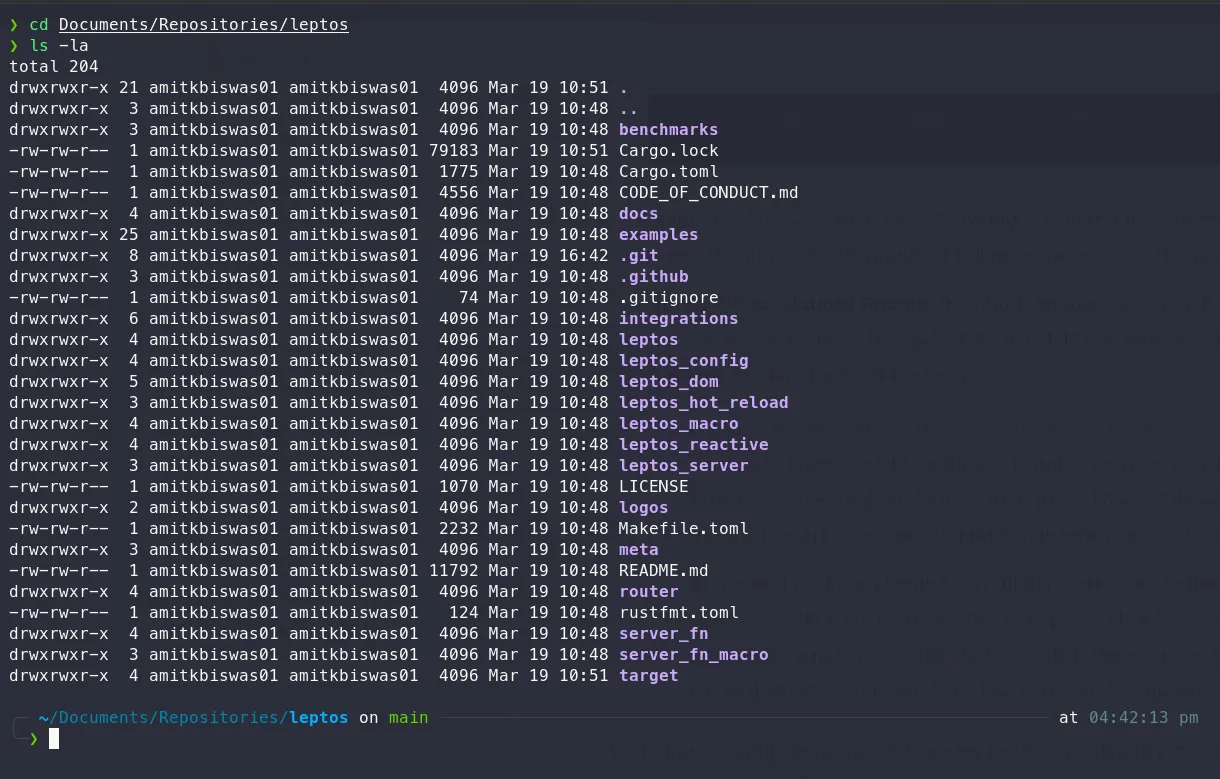
draculatheme. With these configs in place, start a new session of alacritty, the terminal should look something like this 👇
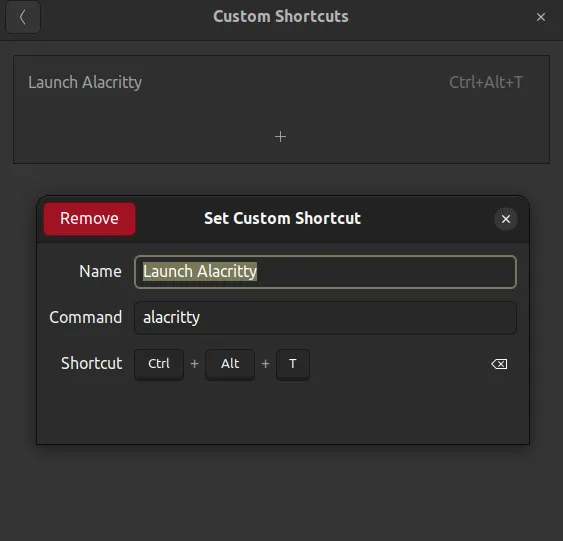
Bonus Tip for Ubuntu Gnome
In Ubuntu gnome (the default Ubuntu variant), Ctrl + Alt + T opens the default terminal. If you want to change the default terminal to Alacritty,
-
Go to
Settings > Keyboard > View and Customize Shortcuts. Search forTerminal. Click on it, and press backspace. This will disable this shortcut and theCtrl + Alt + Tthe combination is now free to use for custom shortcuts. -
At the end of the previous shortcut list, there’s an option named
Custom Shortcuts. Click on it, and on the next page, click the+icon. This will show a prompt for a new keyboard shortcut, fill in the name as you like and use the cleared shortcut combination. The command value here isalacritty.
Final words
Phew! Lots of installing and searching and whatnot! But if everything went correctly, you should be presented with a nice-looking shell prompt inside the alacritty terminal emulator, which has autocompletion, syntax highlighting, and looks a bit nerdy!